Next.js is a powerful framework for building modern web applications, but it doesn't ship with a robust logging solution out of the box. The first place you’ll start is probably console.log. It works consistently across client and server and can easily print most JavaScript objects (docs). You can also use other console functionality such as timers.
However, If you've ever found yourself digging through console logs in production, struggling to pinpoint errors, or wishing you had more insight into how users interact with your app, you know the pain.
At Arcjet, we already have structured logging for our Go backend. Piped into Datadog, it’s easy to search for a specific user or trace ID because each log line has various attributes attached, including the user ID. We wanted to do the same with our web app, so we spent some time switching Next.js to structured JSON logging.
In this post, we'll walk you through implementing structured logging in Next.js.
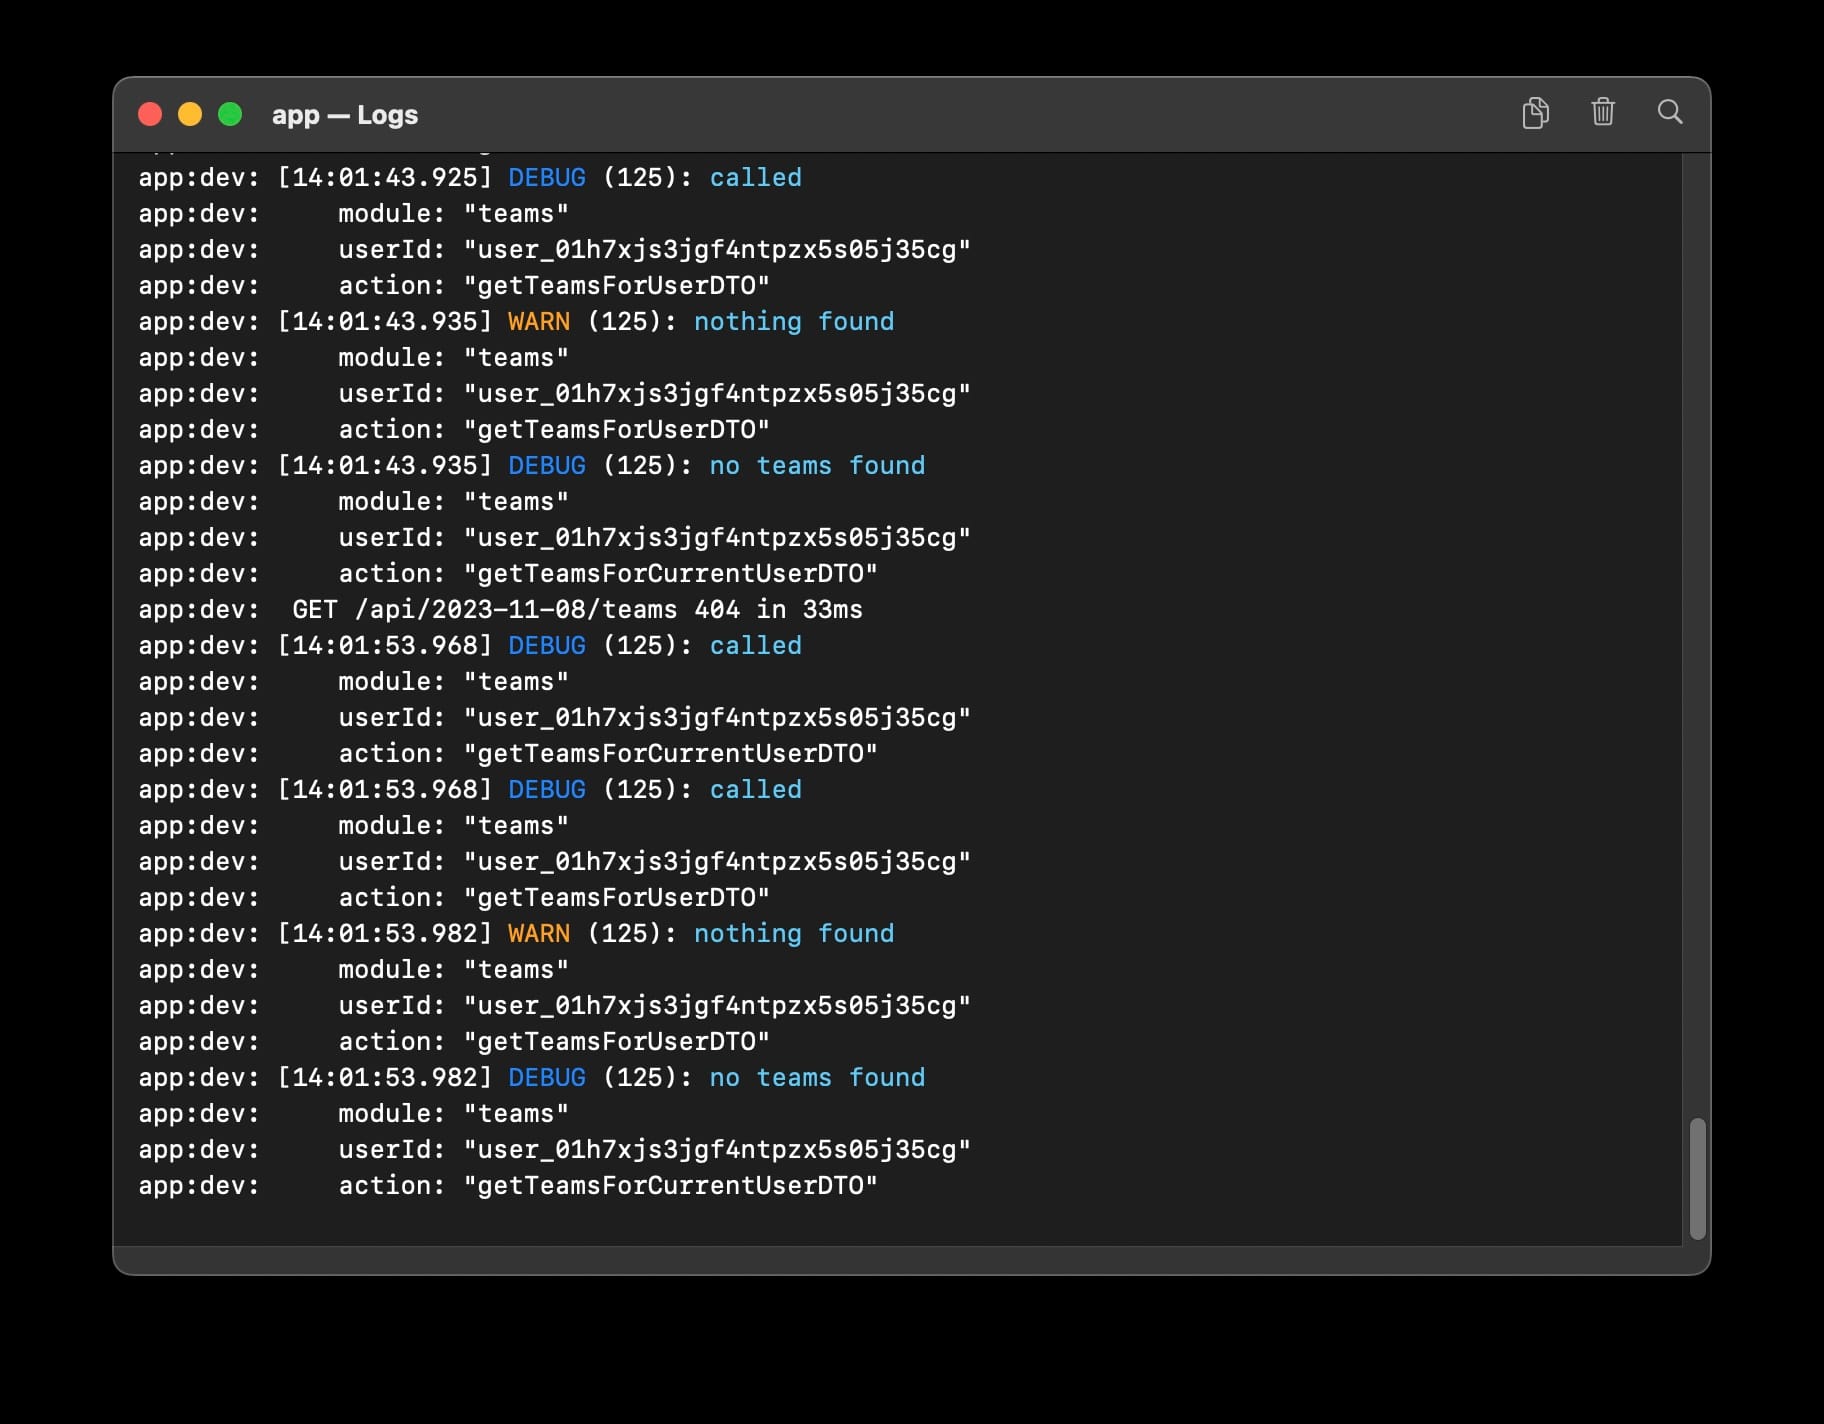
Screenshot of Next.js logs generated by Pino and displayed in the Orbstack container log viewer.
Automatically patched globals with next-logger
When searching for a structured logging solution for Next.js, you might stumble upon next-logger. This library conveniently patches the logging mechanisms used by Next.js, allowing you to continue using console.log without any code changes. It automatically formats your logs as JSON and adds useful metadata like hostname and timestamp.
Implementation is easy: start your Next.js server with NODE_OPTIONS='-r next-logger' next start and you’re done!
A simple modification to your package.json:
"scripts": {
  "start": "NODE_OPTIONS='-r next-logger' next start",
  // ...your other scripts
},
This works well if you are running your own Next.js server in a Docker container or self-hosted somewhere. However, if you’re deploying on a service like Vercel or Netlify then this won’t work. You can’t control the NODE_OPTIONS on those platforms.
This led us to explore more customizable options.
Custom Next.js logs with pino
The next library I found was pino, which is a fast logger for JS. It supports log levels, different output formats, and has a nice pretty-print plugin for local logging with colorized output.
Pino is a high-performance logging library for Node.js that offers the flexibility and customization we needed at Arcjet. It supports log levels, different output formats, and has a handy pretty-print plugin for development environments. It even allows you to redact fields by JSON path.
While Pino doesn't have out-of-the-box support for Next.js, it's easy to integrate with a few tweaks. Here's how:
Installation
npm install pino pino-pretty
Next.js configuration
In your next.config.js file, add pino and its pretty-print plugin to the serverComponentsExternalPackages array:
To streamline logging across your codebase, create a utility file (e.g., lib/logger.ts) that configures Pino with the desired output format and log level:
import pino, { Logger } from "pino";

export const logger: Logger =
  process.env["NODE_ENV"] === "production"
    ? // JSON in production
      pino({ level: "WARN" })
    : // Pretty print in development
      pino({
        transport: {
          target: "pino-pretty",
          options: {
            colorize: true,
          },
        },
        level: "debug",
      });
Then in each file where you want to log, import logger and create a child logger. This allows you to set attributes which appear on every log line, which we use to identify the module:
Pino is known for its high performance which is important for production environments where you want minimal overhead for your logging. It also gives you fine-grained control so you can output JSON in production to make it easy to search on fields, but pretty-print in development.
This has been working well for us in production so we now have consistent JSON logging for both frontend (Next.js) and backend (Go). Let us know if you’ve found other improvements we should consider!
Self-host apps securely with Coolify and Tailscale. This guide provides instructions for setup, deployment on a private Tailscale network, and public access for Next.js on Coolify.
A security checklist of 7 things to improve the security of your Next.js applications. Dependencies, data validation & sanitization, environment variables, code exposure, security headers, centralizing functions, getting help from your editor.
How do you test Next.js app router API route handlers? A guide to testing Next.js API routes and mocking next-auth to properly test authenticated routes.