In the world of web development, ensuring stability and security is crucial. One of the ways to do so is to utilize rate limiting. In this article, you will learn how to integrate this protective measure into your SvelteKit form actions using Arcjet.
Let’s get started.
What is Rate Limiting?
Rate limiting is a technique used to control the number of requests or actions allowed in a given period of time to prevent abuse and ensure the fair use of resources. It acts as a line of defense against malicious attackers when they utilize tools to automate sending a large number of requests in a short amount of time.
Attacks that can be thwarted by implementing rate limiting include:
Distributed Denial of Service(DDoS): DDoS attacks overwhelm your website/online-service with a flood of traffic.
Brute Force/Password Spraying: These attacks involve using automation in order to attempt to guess the credentials of user accounts by iterating through wordlists.
API Abuse: The ability to rapidly send a large number of requests to endpoints can lead to issues such as information enumeration, inbox stuffing, data exfiltration and resource depletion.
To implement this, we're going to use Arcjet, a developer security SDK designed to protect web applications from various threats. In addition to rate limiting, Arcjet provides tools for bot detection, attack detection, email validation, and more, making it easier to secure your application effectively.
Arcjet Rate Limiting Configuration Options
There are many configuration options available in Arcjet, allowing you to fine-tune your rate limiting implementation to best suit your needs and the needs of your users.
characteristics
The value of the characteristics option defines what the rate limiting is tracked against. The following default options are available:
Characteristic
Description
ip.src
Identify the client by their IP address.
http.host
Identify the client by the requesting host.
http.request.headers[""]
Identify the client by the value of a specific request header/list of request headers.
http.request.cookie[""]
Identify the client by the value of a specific cookie/list of cookies.
http.request.uri.args[""]
Track requests using a certain URL query parameter/list of URL query parameters.
http.request.uri.path
Track requests sent by path.
You can also create custom characteristics and assign them a value of type string, number or boolean when calling the protect method (see below).
mode
The mode can be one of two values - either LIVE or DRY RUN. Using LIVE will implement the rate limiting protections. DRY RUN is used for testing purposes - the result will be logged, but requests will not actually be blocked.
match
The value of the match option is the exact path you want to apply the rate limiting to. If not specified, it will default to the current path that Arcjet is called from or across all paths if Arcjet is running from middleware.
max
The value of the max option specifies the maximum number of requests allowed within a certain time frame.
window
The value of the window option specifies the time frame. It can be an integer value of seconds, or a string value with a time period appended after an integer.
s - seconds
m - minutes
h - hours
d - days
When using the string value for time representation - values can be combined.
Example: max: "1d5h30m10s"
interval
The value of the interval option specifies either the time frame for the sliding window or the rate of time at which the token bucket is refilled, depending on which rate limiting algorithm you choose. Both have the same value options as the window configuration option.
capacity
The value of the capacity option specifies the maximum number of tokens a token bucket can hold.
refillRate
The value of the refillRate specifies how many tokens are to be added to the token bucket every interval cycle.
A fixed limit of requests are allowed within a fixed window of time. This method utilizes the following configuration options: characteristics, mode,match,windowand max.
The rate limit protection is actively tracking the client by their IP address on the /form path and allows for a maximum of 100 requests per minute.
Sliding Window
Requests made by a client are tracked against a sliding window (the window is continuously moving). This method utilizes the following configuration options: characteristics, mode,match,interval and max.
The rate limit protection is actively tracking the client by their IP address on the /form path and allows for a maximum of 60 requests within one minute. So, if you sent one request every second for the first 60 seconds - one request would become available to send at the 61st second.
Token Bucket
Each request must withdraw a “token” from the “token bucket”. The bucket refills at the given interval and if there are no remaining tokens, the limit has been reached. This method utilizes the following configuration options: characteristics, mode,match, interval, capacity and refillRate.
The rate limit protection is actively tracking the client by their IP address on the /form path. The token bucket has a maximum capacity of 60 tokens and a refillRate of 10 tokens per minute. If you sent 60 requests within the first 10 seconds, you would deplete all the tokens. Once the interval of one minute passed (50 seconds later) the bucket would receive 10 more tokens. You could then send 10 more requests within this next one minute interval. Subsequently, if you waited six minutes, the bucket would reach its capacity - allowing for up to 60 requests to be sent within the next minute.
What is Svelte?
Svelte is a framework used to construct user interfaces. Reusable componentswritten with HTML, CSS and JavaScript are written to .svelte files. The Svelte compiler parses these files, analyzes them and generates a JavaScript file. Unlike other frontend frameworks, this occurs at build time rather than run time.
SvelteKit is an application framework built on top of Svelte to provide backend functionality. It adds additional features that are needed when building a full-stack application such as routing, data fetching, server side rendering, etc.
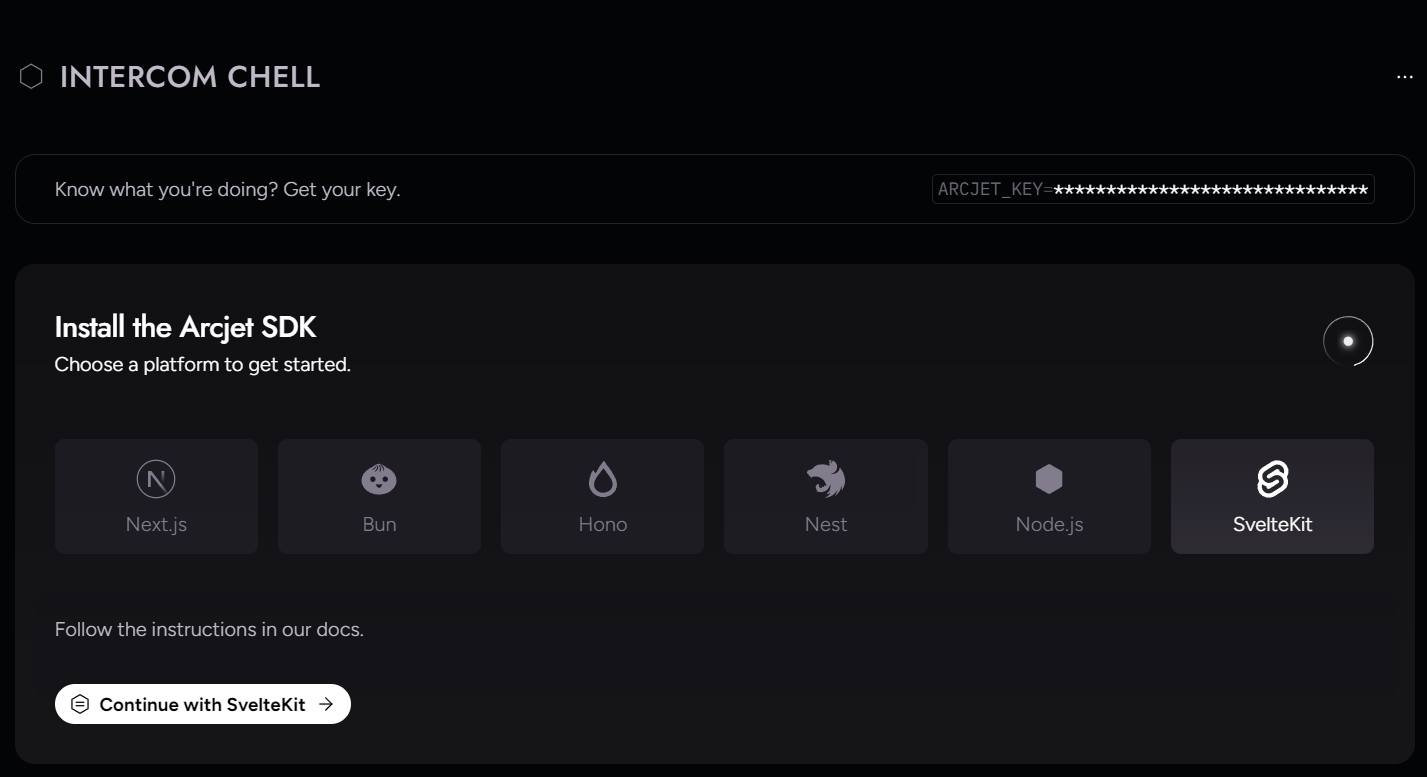
To obtain a key create an Arcjet account or sign in - the key will be present in your account dashboard page. This Arcjet API key enables your application to use Arcjet, which can then be viewed on the Arcjet dashboard.
Arcjet installation screen.
The environment is set to development to ensure Arcjet knows it is running in a local environment. Arcjet will default to the production environment if it can’t determine if it is running locally. In production environments, private/internal addresses are not allowed, so we are explicitly setting the environment in order to be able to test with our locally.
To view the Arcjet SvelteKit SDK reference in its entirety, visit the docs.
Building A SvelteKit Application to Implement Arcjet Rate Limiting Protections
Now that you are aware of just how diverse your rate limiting options are - let’s move onto development.
/src/lib/server/arcjet.ts
“Modules” refer to any JavaScript or TypeScript files that export functionality or data which can be imported and used in other parts of your application.
Modules in the /src/lib directory are accessible to anything in the /src directory using the $lib alias. This feature simplifies imports from deeply nested routes by avoiding the need for directory traversal (../).
Be aware that any presence of the serverkeyword (either in a path or file name) means assets can only be imported by code that also runs server-side. This is to prevent accidentally importing sensitive data to the front-end.
The Arcjet instance will be defined in this file with an empty ruleset. Allowing you to define specific rules to each page using withRule.
import { env } from "$env/dynamic/private";
import arcjet from "@arcjet/sveltekit";

export const aj = arcjet({
    key: env.ARCJET_KEY!,
    rules: [
    ],
});
The contents of the /src/lib/server/arcjet.ts file.
/src/hooks.server.ts
The hooks.server.ts file applies rate limiting rules globally. This ensures that every request to your application is subject to these rules. It’s useful for implementing a base level of rate limiting across your entire application.
import { fixedWindow } from 'arcjet';
import { aj } from '$lib/server/arcjet';
import { error, type RequestEvent } from '@sveltejs/kit';

export async function handle({
    event,
    resolve
  }: {
      event: RequestEvent;
      resolve: (event: RequestEvent) => Response | Promise<Response>;
  }): Promise<Response> {
    const decision = await aj
      .withRule(
        fixedWindow({
            mode: "LIVE",
            window: "15s",
            max: 5
        })
      )
      .protect(event);

    if (decision.isDenied()) {
      return error(429, 'Too many requests');
    }

    return resolve(event);
}
The contents of the /src/hooks.server.ts file.
/src/routes/form/+page.svelte
Any +page.svelte file inside /src/routes creates a page in your application. Create a /form directory and add a page.
The contents of the file (for now) will be:
<h1>Form</h1>
The contents of the /src/routes/form/+page.svelte file.
/src/routes/form/+page.server.ts
The +page.server.ts file handles server-side logic for a specific page or route in your SvelteKit application. Its scope is limited to the page or route where it is used.
Since it shares the /form directory with +page.svelte - it will handle the rate limiting for that page.
We will set tokenBucket rate limiting on the page.
import { tokenBucket } from 'arcjet';
import { aj } from "$lib/server/arcjet";
import { error, type RequestEvent } from "@sveltejs/kit";

export async function load(event: RequestEvent) {
  const decision = await aj
  .withRule(
    tokenBucket({
        mode: "LIVE",
        refillRate: 1,
        interval: "10s",
        capacity: 3
    })
  )
  .protect(event, {requested: 1});

  if (decision.isDenied()) {
    return error(429, "Too many requests made to /form.")
  }

  return {};
}
The contents of the /src/routes/form/+page.server.ts file.
“Wait, isn’t there two rate limiting rules on the same page now?”
You are correct! The rule we just implemented on the form page via the +page.server.ts file as well as the global rule.
To avoid this, you can exclude the form page from the global rule by editing the handle function in the hooks.server.ts file to resemble the following:
import { fixedWindow } from 'arcjet';
import { aj } from '$lib/server/arcjet';
import { error, type RequestEvent } from '@sveltejs/kit';

export async function handle({
    event,
    resolve
  }: {
      event: RequestEvent;
      resolve: (event: RequestEvent) => Response | Promise<Response>;
  }): Promise<Response> {
    // Ignore routes that extend the Arcjet rules
    // - they will call `.protect` themselves
    const filteredRoutes = ["/form"];
    if (filteredRoutes.includes(event.url.pathname)) {
      // return - route will handle protection
      return resolve(event);
    }

    const decision = await aj
      .withRule(
        fixedWindow({
            mode: "LIVE",
            window: "15s",
            max: 5
        })
      )
      .protect(event);

    if (decision.isDenied()) {
      return error(429, 'Too many requests');
    }

    return resolve(event);
}
The changed contents of the /src/hooks.server.ts file.
/src/routes/+layout.svelte
Let’s add a navigation bar to the top of each page using a +layout.svelte file. This navigation bar will apply to every child and sister element in the /routes directory. The <slot></slot>element is where the page will be rendered.
The contents of the /src/routes/+layout.svelte file.
Test the Rate Limit Protections
Now, there is Arcjet rate limiting in place! To test your web application run npm run dev and visit:
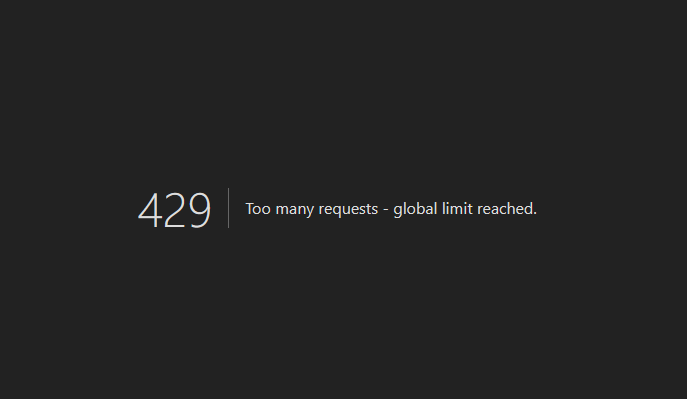
http://localhost:5173/ - This page has the global rule implemented. Refresh the page repeatedly. Per the rule, you were only allowed to make 5 requests!
Index rate limit error.
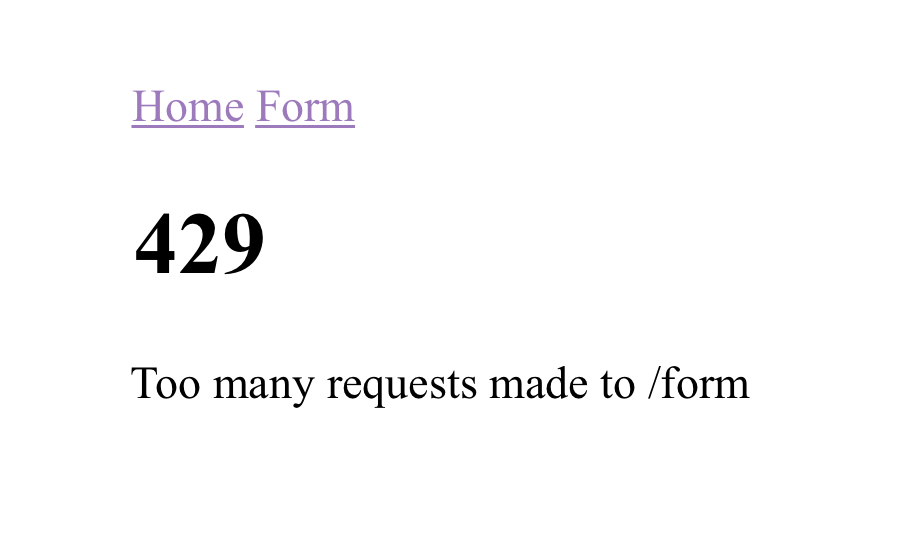
http://localhost:5173/form - This page has the specific rule implemented. Again, refresh the page repeatedly. You should be rate limited after 3 requests!
Form rate limit error.
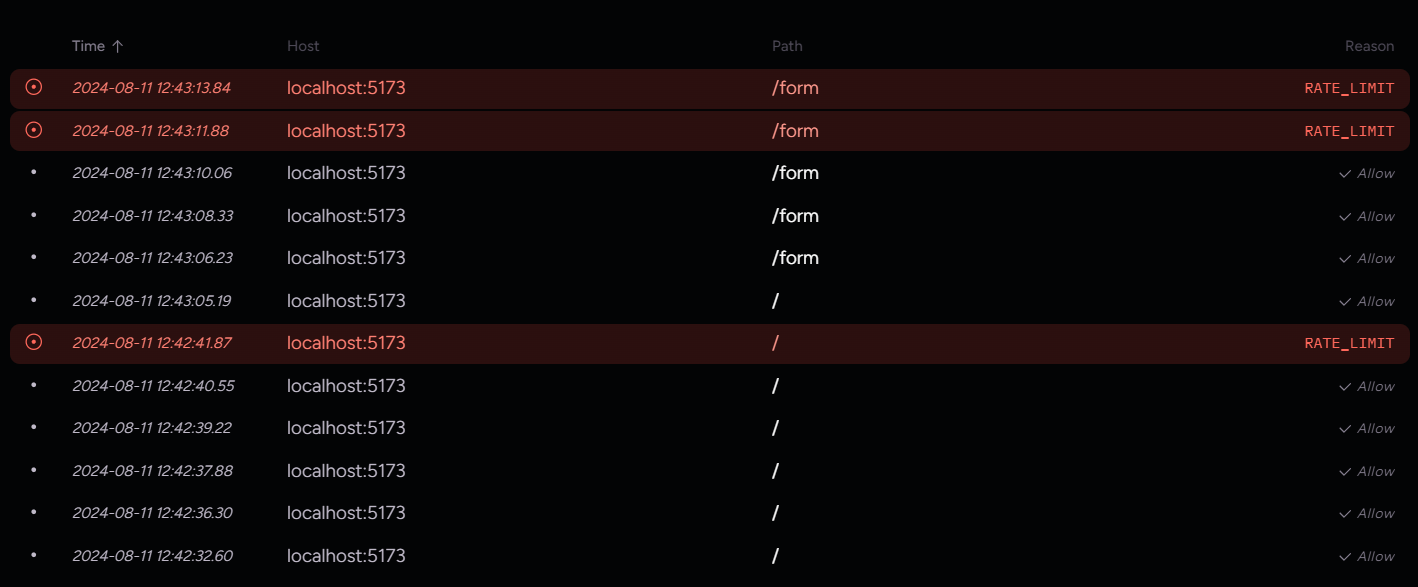
Your Arcjet dashboard should resemble the following:
Arcjet dashboard showing the rate limit requests.
Rate Limiting on a Form Using SvelteKit Form Actions
/src/lib/server/database.ts
The database.ts file, for the sake of simplicity, creates an in-memory storage file instead of implementing a fully-fledged database.
A custom Message type is defined - this sets the structure (what properties the message has) of the message object. An empty array is initialized and stored in the messageList variable. This file exports two functions: getMessages() and addMessage().
type Message = {
  text: string
  completed: boolean
}

const messageList: Message[] = [
  {
    text: 'Learn how forms work',
    completed: false
  }
]

export function getMessages() {
  return messageList
}

export function addMessage(text: string) {
  const message: Message = {
    text,
    completed: false
  }
  messageList.push(message)
}
The contents of the /src/lib/server/database.ts file.
/src/routes/form/+page.svelte
Earlier we only added a header to the +page.svelte file. Now, we will create a form. Submitting to this form will add a message to the messageList array. All of the messages will be displayed in a list element on the page.
Notice the action="?/addToList" attribute of the form - we will discuss this next.
<script lang="ts">
  export let data
  export let form
</script>

<h1>Form</h1>

<ul>
  {#each data.messages as message}
    <li>
      <span>{message.text}</span>
    </li>
  {/each}
</ul>

<form method="POST" action="?/addToList">
  <input type="text" name="message" value={form?.message ?? ''} autocomplete="off"/>
  <button type="submit">+ Add Message</button>
</form>

{#if form?.missing}
  <p>This field is required.</p>
{/if}

{#if form?.success}
  <p>Added message!</p>
{/if}
The changed contents of the /src/routes/form/+page.svelte file.
/src/routes/form/+page.server.ts
The additions to the +page.server.tsfile handle the POST request that is generated when the form is submitted.
In a standalone +server.ts file, you can utilize functions corresponding to HTTP verbs such as GET or POST. SvelteKit form actions extends this concept by allowing you to define and give names to methods that correspond to specific actions. The action attribute in the form specifies the method to use - in this case addToList. For more on form actions visit https://learn.svelte.dev/tutorial/the-form-element.
Take note of {requested: 1} - when using the token bucket type, this is required and represents the number of tokens used per request.
Moving the protect function (from the load function) directly into the form action means the rate limiting will only apply to form submissions.
import { tokenBucket } from 'arcjet';
import { aj } from "$lib/server/arcjet";
import { error, type RequestEvent } from "@sveltejs/kit";
import { fail } from '@sveltejs/kit'
import { addMessage, getMessages } from '$lib/server/database'

export async function load() {
  const messages = getMessages()
  return { messages }
}

export const actions = {
  addToList: async (event: RequestEvent) => {
    const decision = await aj
      .withRule(
        tokenBucket({
            mode: "LIVE",
            refillRate: 1,
            interval: "10s",
            capacity: 3
        })
      )
      .protect(event, {requested: 1});

    if (decision.isDenied()) {
      return error(429, "Too many requests made to /form.")
    }
    const formData = await event.request.formData()
    const message = String(formData.get('message'))

    if (!message) {
      return fail(400, { message, missing: true })
    }

    addMessage(message)

    return { success: true }
  },
}
The contents of the /src/routes/form/+page.server.ts file.
Test the Rate Limit Protections
To test your web application run npm run dev and visit:
http://localhost:5173/ - This page has the global rule implemented. Refresh the page repeatedly. Per the rule, you were only allowed to make 5 requests!
http://localhost:5173/form - This page has the specific rule implemented. Submit the form in quick succession. You should be rate limited after 3 requests!
Conclusion
Now you have a solid understanding of both SvelteKit and Arcjet's rate-limiting features! Every application is different, so feel free to adjust the configurations to best suit your needs. While you're there, check out some of Arcjet's other security features - they're equally easy to implement.
Nosecone is an open source library to set security headers like Content Security Policy (CSP) and HTTP Strict Transport Security (HSTS) on Next.js, SvelteKit, and other JavaScript frameworks using Bun, Deno, or Node.js. Security headers as code.