Node.js to support ESM Require: What this means for NestJS developers and other CommonJS frameworks
An experimental feature in Node 22 will finally allow ESM code to be required on CommonJS environments, making it much easier to use ESM-only libraries in frameworks like NestJS
JavaScript has two main module systems: CommonJS (CJS) and ECMAScript Modules (ESM). CJS, the older system, is used by Node.js and many popular frameworks like NestJS. ESM is the newer, standardized system used in modern JavaScript.
This difference has caused issues when trying to use ESM-only packages in CJS-based projects. Developers often resort to complex workarounds, typically modifying tsconfig.json, adjusting package.json, and ensuring all imports to relative files end with .js. This process can be error-prone and adds complexity to project maintenance.
Node.js 22 introduces the --experimental-require-module flag, enabling the use of require() to import ESM modules in a CommonJS context. This development significantly improves the ability for developers who use CJS-based frameworks to integrate ESM-only packages.
This article explores how this feature can simplify the use of ESM packages in NestJS applications, using Arcjet (ESM-only) as a practical example.
💡
Arcjet is a security suite for web applications. It offers advanced protection features including rate limiting, bot detection, email validation, and a multi-strategy security shield. By integrating Arcjet, you are significantly enhancing your application's defense against various online threats. In this tutorial, we'll implement rate limiting and shield.
Installing Node 22
Node 22 was released in Apr 2024 and is slated to enter LTS in October, but until then, you’re probably on Node 20. And in all likelihood, you’ll want to keep this version for your current development. So how can we easily run node 22 alongside it?
nvm, or Node Version Manager, allows us to run multiple versions of Node (and the correct version of npm alongside it) and switch between them easily from the command line.
If you already have node installed via another package manager (i.e. homebrew), you don’t need to uninstall that. nvm will manage our paths from now on, and both can co-exist happily. So first things first, let’s install nvm.
nvm’s installation guide suggests you run one of the following commands in your terminal. But don’t take my word for it - check the latest documentation for yourself before you start running random curl commands in blog posts that pipe to bash.
Once that’s finished, you’ll need to close and reopen your terminal to be able to run nvm, or you can run the following commands (taken from the aforementioned documentation) to load nvm into the current environment:
Now that we have nvm installed, let’s install the latest LTS version and version 22:
nvm install --lts
nvm install 22
The active version of Node will now be the most recent one you installed (v22 in our case), and you can list the installed versions with nvm ls and switch between them using nvm use <version>, where version can be a number or --lts:
ben@localhost % nvm use 20
Now using node v20.16.0 (npm v10.8.1)

ben@localhost % nvm use 22
Now using node v22.6.0 (npm v10.8.2)

ben@localhost % nvm use --lts
Now using node v20.16.0 (npm v10.8.1)

ben@localhost % nvm use 22
Now using node v22.6.0 (npm v10.8.2)
It's important to note that the --experimental-require-module flag in Node.js 22 is, as the name suggests, experimental. While it offers exciting possibilities for integrating ESM modules in CommonJS environments, it may have unexpected behaviors or change in future Node.js versions. Use caution when considering this approach for production applications. Always thoroughly test your implementation and have a fallback plan. For critical systems, it may be prudent to wait until this feature becomes stable before deploying to production.
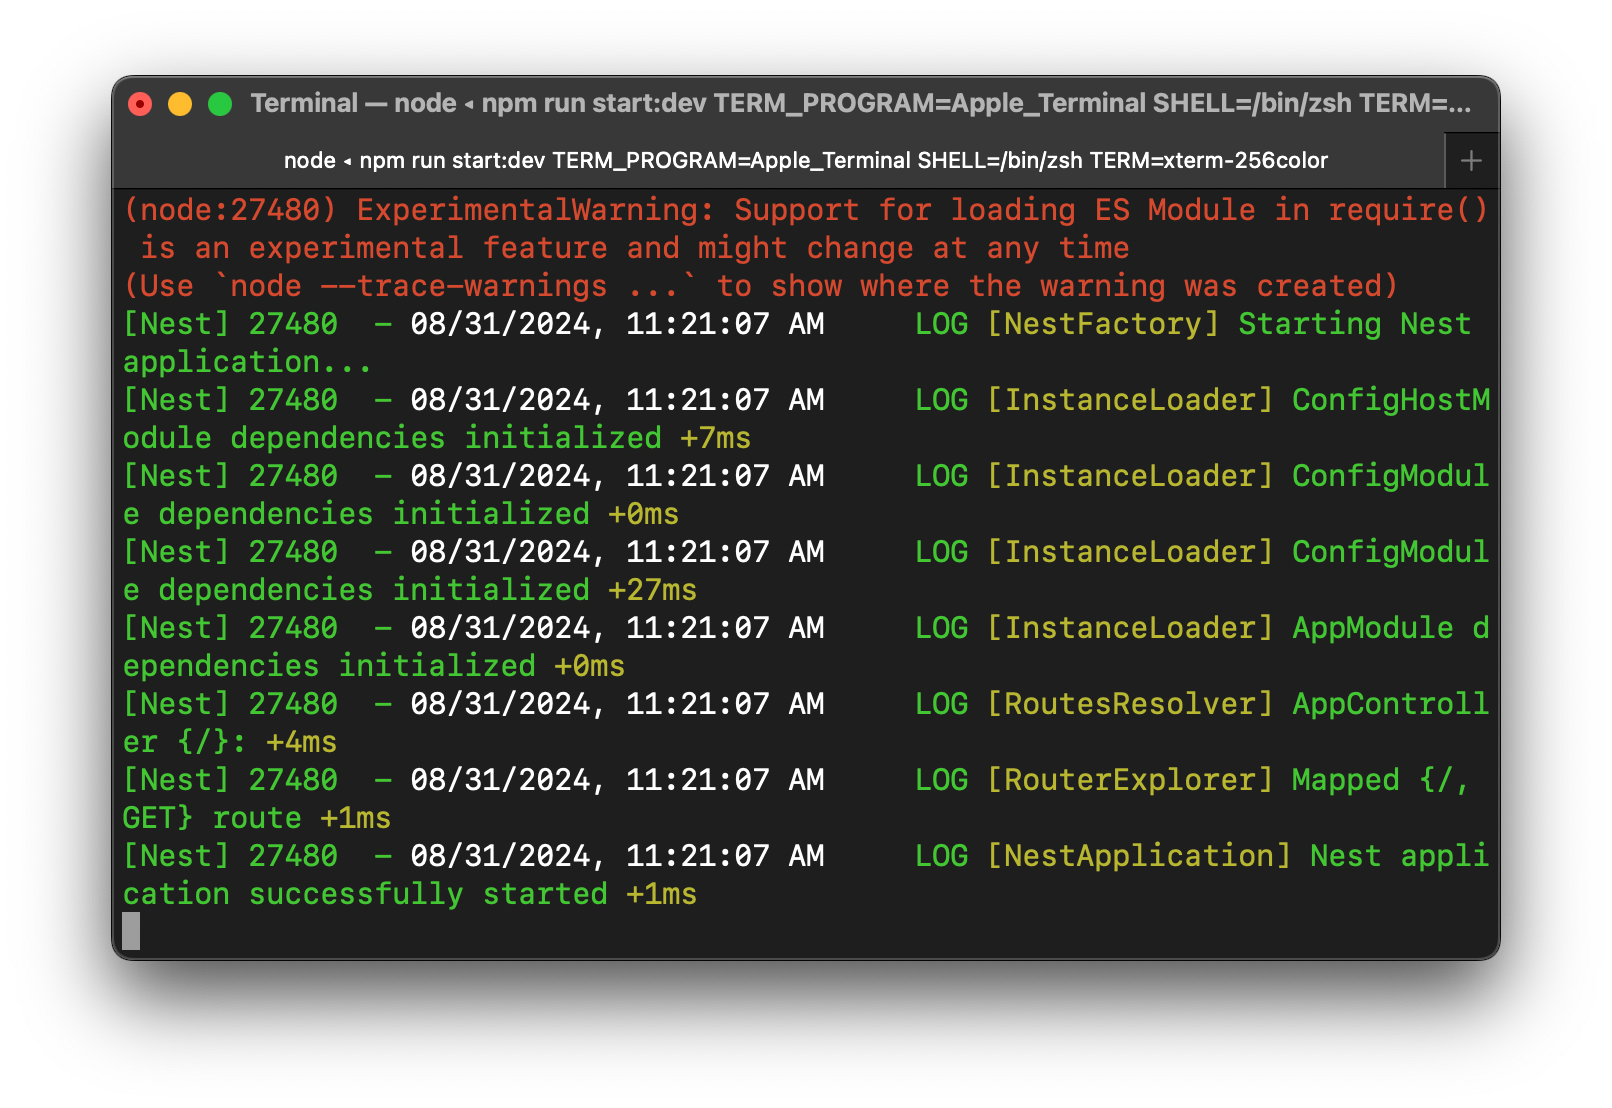
Now restart npm run start:dev and you’ll notice the experimental notice flash in the terminal before NestJS starts up.
Configuring NestJS for Arcjet
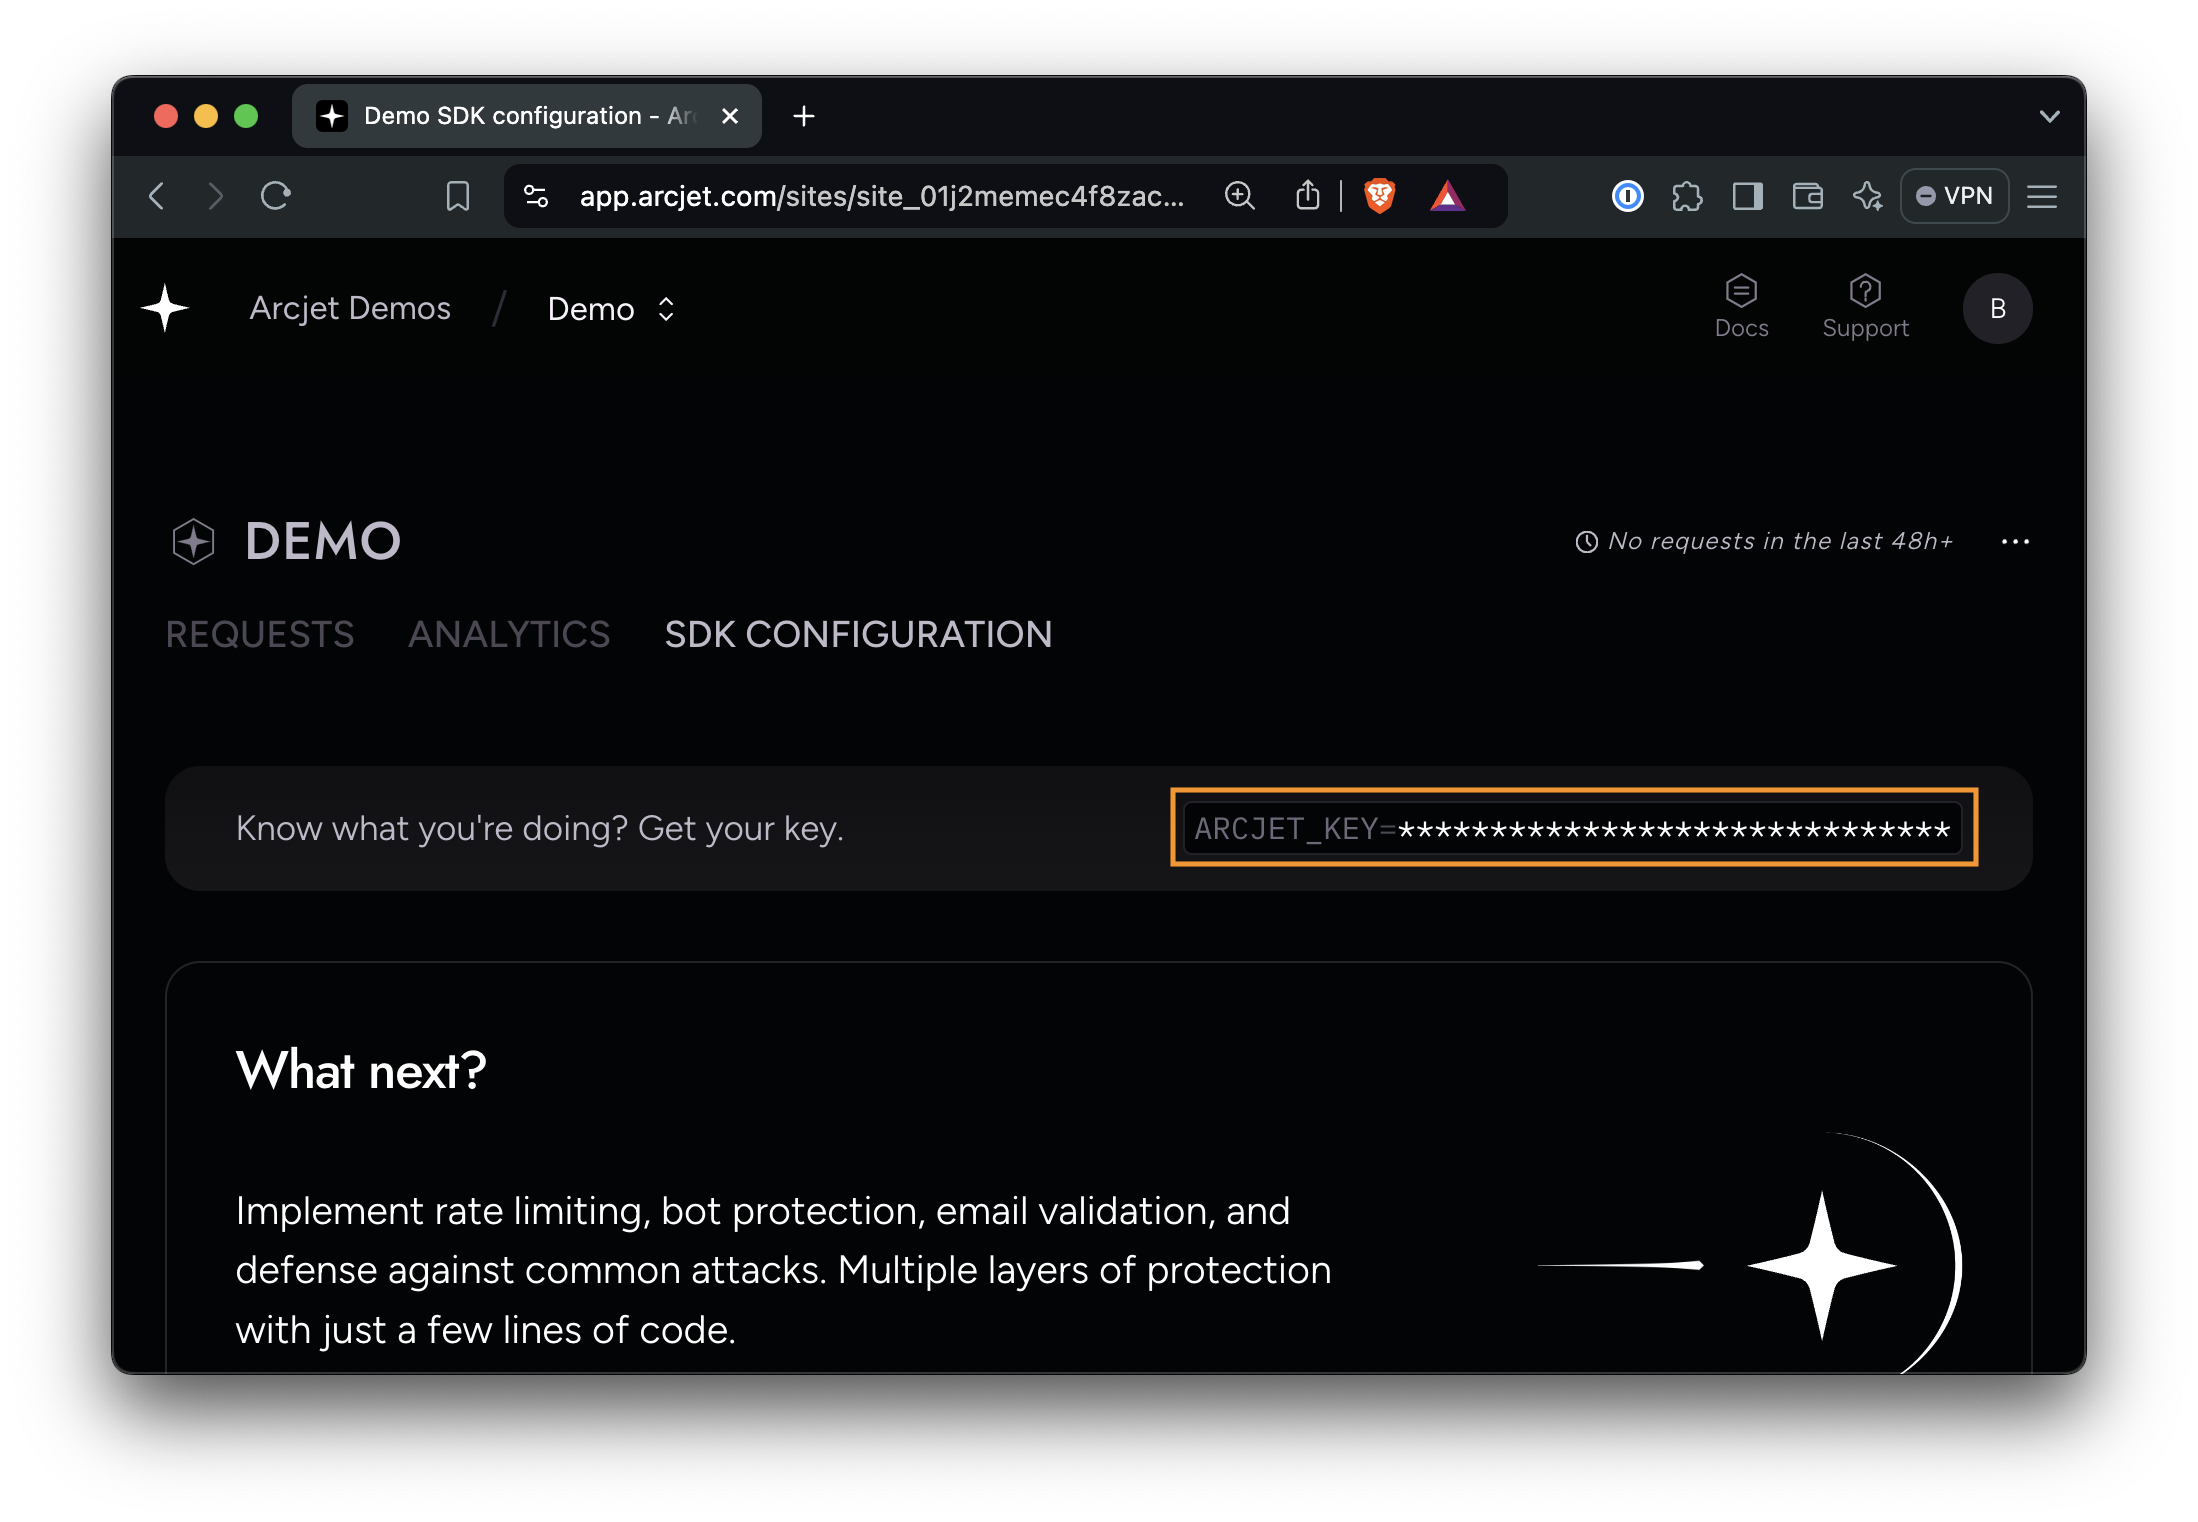
You’ll need an ARCJET_KEY to connect your NestJS application – create your free Arcjet account, and find it on the SDK Configuration page:
Copy that key, and add it to a new .env file in the root directory of your application, along with an ARCJET_ENV variable to tell Arcjet to accept local IP addresses (like localhost and 127.0.0.1) as we are in a development environment. (This is usually available from NODE_ENV, but NestJS doesn’t set it.)
ARCJET_KEY=ajkey_.........
ARCJET_ENV=development
App Configuration with NestJS
NestJS centralizes your app's configuration with ConfigModule, making it easier to manage environment-specific settings and sensitive data like API keys. It works well with NestJS's dependency injection system and supports type safety. For the Arcjet integration, we'll use it to securely store the API key and define our environment.
Let’s install NestJS’s Config package:
npm install @nestjs/config
Create a file /src/config/configuration.ts that exports a function to load environment variables:
export default () => ({
  // Load ARCJET_KEY from environment variables
  // or default to a blank string if not found
  arcjetKey: process.env.ARCJET_KEY || '',
});
Create a new module in /src/config/config.module.ts to centralize configuration management, making environment variables and API keys easily accessible throughout the application.
import { Module } from '@nestjs/common';
import { ConfigModule as NestConfigModule, ConfigService } from '@nestjs/config';
import configuration from './configuration';

@Module({
  imports: [
    NestConfigModule.forRoot({
      load: [configuration], // Load the custom configuration
      isGlobal: true,        // Make the ConfigModule global
    }),
  ],
  providers: [ConfigService],
  exports: [ConfigService],  // Export ConfigService to be used elsewhere
})

export class ConfigModule {}
Edit your /src/app.module.ts file to import the custom ConfigModule in your AppModule. This ensures the configuration is properly loaded and accessible throughout your application.
import { Module } from '@nestjs/common';
import { AppController } from './app.controller';
import { AppService } from './app.service';
import { ConfigModule } from './config/config.module'; // Import the custom ConfigModule

@Module({
  imports: [ConfigModule], // Include the ConfigModule
  controllers: [AppController],
  providers: [AppService],
})

export class AppModule {}
Installing and Configuring Arcjet
Let’s integrate Arcjet to secure every server-side request using Arcjet Shield and a Sliding Window rate-limit. We’ll do this by calling Arcjet’s protect() method from middleware.
Install Arcjet
npm install @arcjet/node
Create the Arcjet Service
Create a file /src/arcjet/arcjet.service.ts which will initialize the Arcjet client with your configuration and provide a method to protect requests. This service encapsulates the Arcjet functionality, making it easy to use throughout your application.
import { Injectable } from '@nestjs/common';
import arcjet, { slidingWindow, shield } from '@arcjet/node';
import { ConfigService } from '@nestjs/config';

@Injectable()
export class ArcjetService {
  private readonly arcjetClient;

  constructor(private configService: ConfigService) {
    // Retrieve ARCJET_KEY from the ConfigService
    const arcjetKey = this.configService.get<string>('arcjetKey');
    if (!arcjetKey) {
      throw new Error('ARCJET_KEY is not set');
    }

    this.arcjetClient = arcjet({
      key: arcjetKey,
      rules: [
        slidingWindow({
          mode: 'LIVE', // will block requests. Use "DRY_RUN" to log only
          interval: 60, // 60-second sliding window
          max: 10, // 10 requests per minute
        }),
        shield({
          mode: 'LIVE', // will block requests. Use "DRY_RUN" to log only
        }),
      ],
    });
  }

  async protect(req: Request) {
    return this.arcjetClient.protect(req);
  }
}
Protecting All Routes
Create the Arcjet Middleware
Create a file /src/arcjet/arcjet.middleware.ts which will use the ArcjetService to protect each incoming request. This middleware will intercept all requests, apply Arcjet's protection rules, and determine whether to allow the request to proceed or to block it based on the Arcjet decision.
import { Injectable, NestMiddleware } from '@nestjs/common';
import { ArcjetService } from './arcjet.service';

@Injectable()
export class ArcjetMiddleware implements NestMiddleware {
  constructor(private readonly arcjetService: ArcjetService) {}

  async use(req, res, next) {

    try {
      const decision = await this.arcjetService.protect(req);

      if (decision.isDenied()) {
        if (decision.reason.isRateLimit()) {
          res
            .status(429)
            .json({ error: 'Too Many Requests', reason: decision.reason });
        } else {
          res.status(403).json({ error: 'Forbidden' });
        }
      } else {
        next();
      }
    } catch (error) {
      console.warn('Arcjet error', error);
      next(); // Fail open
    }
  }
}
Update AppModule to Include ArcjetService and Apply ArcjetMiddleware
Now we need to update our app.module.ts file again to run ArcjetService and apply the ArcjetMiddleware to all routes in our NestJS application.
import { Module, MiddlewareConsumer } from '@nestjs/common'; // Add MiddlewareConsumer
import { AppController } from './app.controller';
import { AppService } from './app.service';
import { ConfigModule } from './config/config.module';
import { ArcjetService } from './arcjet/arcjet.service'; // Import ArcjetService
import { ArcjetMiddleware } from './arcjet/arcjet.middleware'; // Import ArcjetMiddleware

@Module({
  imports: [ConfigModule],
  controllers: [AppController],
  providers: [AppService, ArcjetService], // Register ArcjetService
})
export class AppModule {
  configure(consumer: MiddlewareConsumer) {
    // Apply ArcjetMiddleware to all routes
    consumer.apply(ArcjetMiddleware).forRoutes('*');
  }
}
The Result
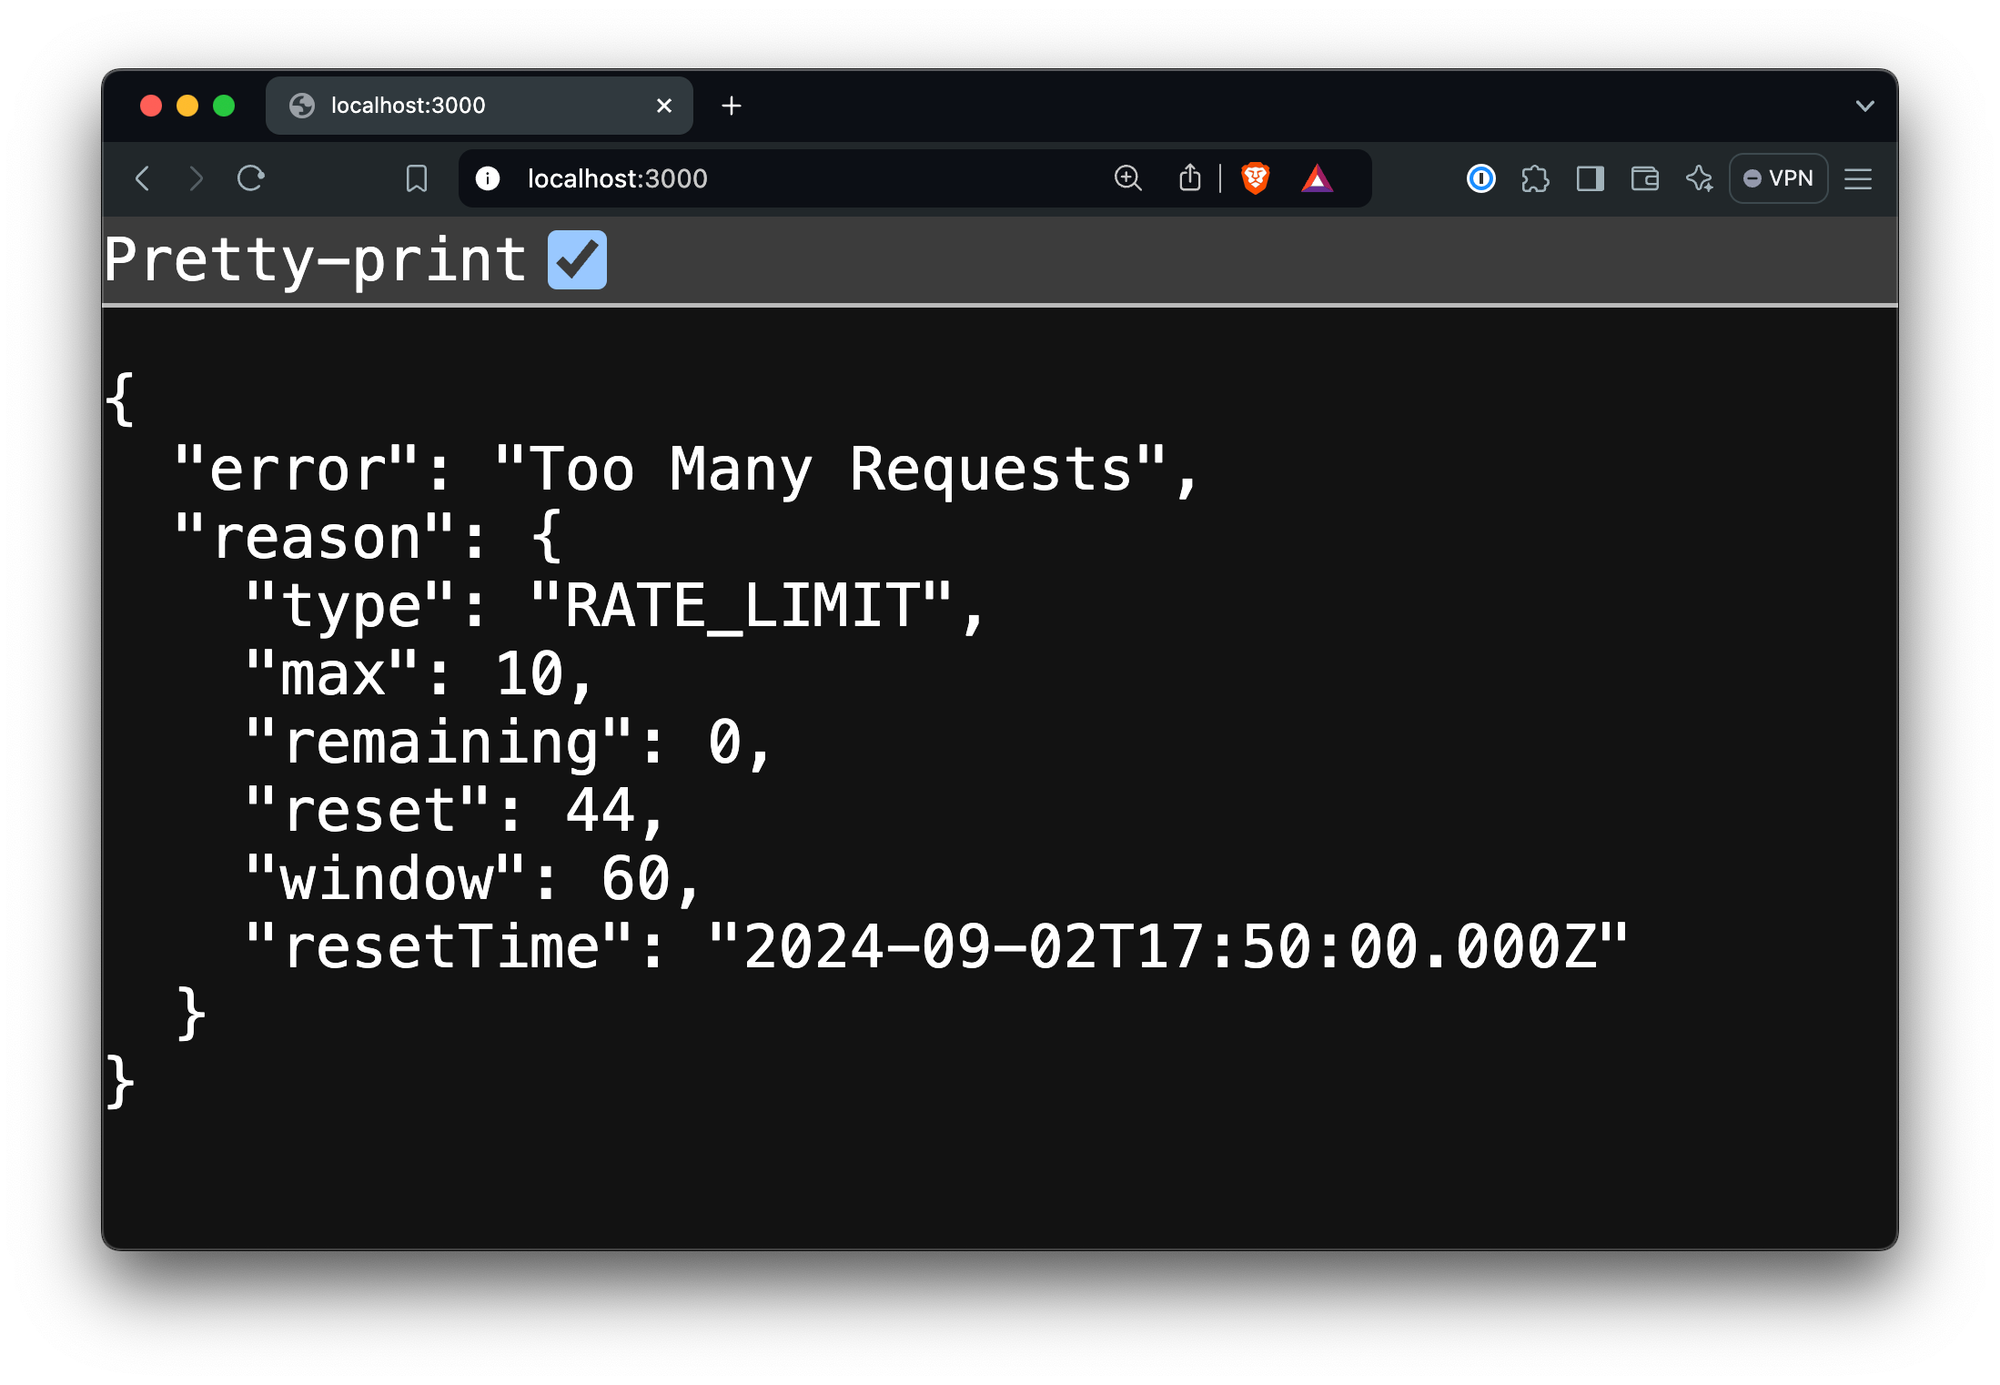
Now head back to your development app at http://localhost:3000/ and refresh 11 times. The 11th should result in a rate-limit error:
Conclusion
In this tutorial, we've explored how Node.js 22's experimental ESM support allows us to seamlessly integrate Arcjet, an ESM-only package, into a CommonJS-based NestJS application. This breakthrough offers several key benefits:
Simplified dependency management: We can now use ESM-only packages without resorting to complex workarounds, opening up a wider range of tools and libraries for our NestJS projects.
Enhanced security: By integrating Arcjet, we've added robust protection against various threats and implemented rate limiting, significantly improving our application's security posture.
Improved maintainability: The use of NestJS's ConfigModule centralizes our configuration, making the app easier to manage and scale as it grows.
Moving forward, consider exploring Arcjet's additional security features to further fortify your application. Keep an eye on Node.js updates as this experimental feature matures, and always test thoroughly before deploying to production.
By staying ahead of the curve with these emerging technologies, you're well-positioned to build more secure, efficient, and maintainable NestJS applications. Happy coding, and stay secure!
A tutorial for protecting your NestJS application with Arcjet. Arcjet makes it easy to build rate limiting, bot detection, email verification & attack detection into NestJS.